原由

颱風天那都不能去,只好繼續 Coding 人生、看看 Pocket 未讀的文章。不過也因此發現好幾個不錯的東西

  1. Supercharging the Atom Editor for Go Development · marcio.io,最近也開始用 Atom 也開始學習 Golang 語言。這一篇作者說明了他自己的使用經驗。
  2. 使用Hugo搭建免费个人Blog · Ulric Qin 這一篇文章看到 Hugo,發現在他的 Blog 也是用 Hugo 架的

在 Ulric Quin 的文章中得知他自己的 Blog 是架在大陸的GitCafe,Hugo 可以直接發佈到 GitCafe & Github 的 Page 免費,當然是立刻自己動手玩一玩

Hosting on GitHub Pages 的說明文件中有如何把 Hugo 靜態網站佈署到 Github Pages 中。但因為 GitHub Pages提供了二種不同形態的頁面 User or organization site & Project Site。其中個人主頁一個帳號只能有一個、而專案頁面則可以很多個

所以在佈署 Hugo 靜態網站也因為對應到不同的型態的 Github Pages 而有所不同。

第一種方式是將 Hugo 靜態網站佈署到 Github Page Project Site 面頁中. 只需要在 github 上建立一個 repo,但是利用 git 中 subtree 的概念將 public 資料夾連結到 gh-pages 的分支上,git 操作過程較為繁鎖

Url 上的差異

1
2
3
4
5
# project site url
http://github.com/<你的github账号>/<项目名>

# github pages host url
http://<你的github账号>.github.io

Project Site

Step1 - 安裝 Hugo 並建立新專案

安裝(詳細步驟請看這)好 Hugo 後,直接建立新的 Hugo 專案

1
2
3
4
5
6
7
8
9
10
11
12
# 建立 Hugo 新專案,-f 是指定 yaml 格式,預設為 toml:frontmatter format
$ hugo new site blog-hugo -f yaml

# change directory
$ cd blog-hugo

# git initialized
$ git init
$ echo .DS_Store >> .gitignore

# add git remote repo
$ git remote add origin git@github.com:<your-github-account>/blog-hugo.git

檢視新專案資料架構

1
2
3
4
5
6
7
# <project-name> file structure
├── archetypes
├── config.toml
├── content
├── data
├── layouts
└── static

Step2 - 安裝新的 Themes

Hugo Themes repository

本來安裝 themes 可直接新建 themes 資料夾並使用 git clone <themes-url>,不過此方法在後面 push 到 Github Pages 出,Github 會回報

The page build failed with the following error: The submodule themes/hyde was not properly initialized with a .gitmodules file. For more information, see >https://help.github.com/articles/page-build-failed-missing-submodule.
If you have any questions you can contact us by replying to this email.

所以這邊直接使用 git submodule 的方式來安裝 themes

1
2
3
# add hugo themes to project as submodule
# git submodule add <repository> [<path>]
$ git submodule add https://github.com/spf13/hyde themes/hyde

Step3 - 編輯專案設定檔

1
2
3
4
5
6
7
baseurl : "http://<你的github账号>.github.com/blog-hugo"
languageCode : "zh-cn"
title : "My New Hugo Site"

# 新增 theme 的名稱
theme : 'hyde'
...

Step4 - 新增新的文章

content/posts 建立 first-post.md

1
2
3
# 會在專案 content/posts 下產生 first-post.md 檔案
# -f 使用 yaml 檔案格式
$ hugo new posts/first-post.md -f yaml

編輯 first-post.md

1
2
3
4
5
6
---
date: 2015-07-16T23:01:57+08:00
title: first post
---

This is my first post.

Step5 - 預覽

此時就可以在 Local 執行, http://127.0.0.1:1313/blog-hugo/

1
2
3
4
# -w watch filesystem for changes and recreate as needed
# -D include content marked as draft
# Press Ctrl+C to stop
$ hugo server -w

應該可以看到下面擷圖的樣式
img

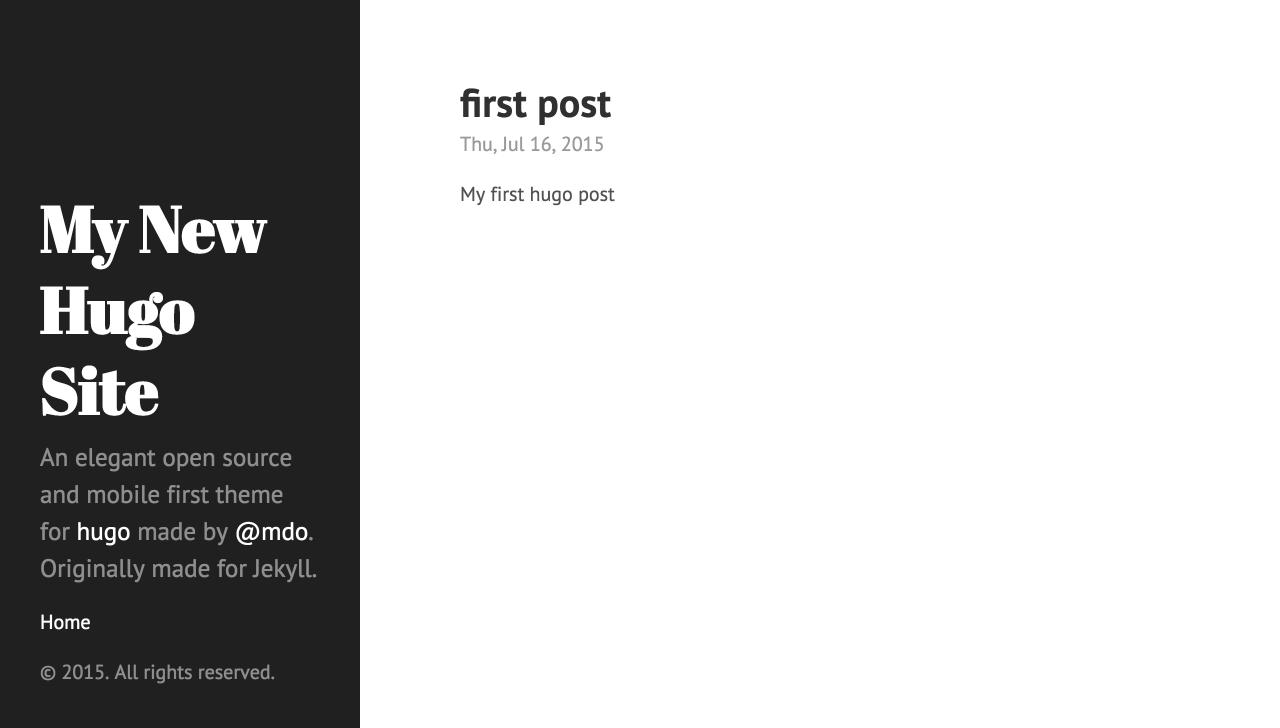
Step6 - 發佈 Hugo 靜態網站至 Github Pages

接下來的動作是一連串的 git 操作,把 Hugo 產生的 public 資料夾推送至 Github Pages

1
2
3
4
5
6
7
8
9
10
11
12
13
14
15
16
17
18
19
20
21
22
23
24
25
26
27
28
29
30
31
32
33
34
35
36
37
38
39
40
41
42
43
44
45
46
47
48
# 删除public文件夹,以后hugo会重新生成
$ rm -rf public

$ git add .
$ git commit -m 'hugo project init'

# 推送到github下master分枝
$ git push -u origin master

# 创建一个名为gh-pages的新的孤立分支(无提交历史记录)
$ git checkout --orphan gh-pages

# 卸载所有文件
# -rf themes/hyde
# 删除所有被跟踪,但在工作目录被删除的文件
$ git rm -rf --cached $(git ls-files)

# 添加并提交该文件
$ git add .
$ git commit -m "INIT: initial commit on gh-pages branch"

# 推送到远程gh-pages分支
$ git push origin gh-pages

# 返回master分支
$ git checkout master

# 删除public文件夹,为gh-pages分支腾出空间
$ rm -rf public

# 添加存储库的gh-pages分支。它看起来像一个名为public的文件夹. It will look like a folder named public
$ git subtree add --prefix=public git@github.com:<your-github-account>/hugo_blog.git gh-pages --squash

# 同步我们刚刚提交的文件。这有助于避免合并冲突
$ git subtree pull --prefix=public git@github.com:<your-github-account>/hugo_blog.git gh-pages

# 运行hugo。生成的网站将被放置在public目录中(或者如果您未使用主题,则省略-t ThemeName)
$ hugo

# 添加所有的
$ git add -A

# Commit and push to master
$ git commit -m "Updating site"
$ git push origin master

# 将public子树推到gh-pages分支
$ git subtree push --prefix=public git@github.com:<your-github-account>/hugo_blog.git gh-pages

這時候,訪問 http://你的github账号.github.com/hugo_blog 應該就可以正常運作

之後如果有任何修改,只有執行最後的3個步驟即可或是將最後的步驟寫成 deploy.sh

1
2
3
4
5
6
7
8
9
10
11
12
13
14
15
16
17
18
19
# deploy.sh
echo -e "\033[0;32mDeploying updates to GitHub...\033[0m"

# Build the project.
hugo

# Add changes to git.
git add -A

# Commit changes.
msg="rebuilding site `date`"
if [ $# -eq 1 ]
then msg="$1"
fi
git commit -m "$msg"

# Push source and build repos.
git push origin master
git subtree push --prefix=public git@github.com:<your-github-account>/hugoblog.git gh-pages

Organization site

Github Pages 除了提供專案主頁(可以多個)之外,也提供了個人主頁(每一個 github 帳號只有一個)的方式。將 Hugo 靜態網站發佈到個人主頁的方式比發佈到專案主頁簡單

在個人主頁中

  • Github repo 必需取口 .github.io
  • master 分支中的內容會被 Build 及發佈到你的 Github Page中 (專案主頁是利用 gh-pages 分支,這點不太一樣)

Step1 - 建立 Hugo repos

  • 建立 blog-hugo repo (用來 host Hugo 的內容)
  • 建立 mile3033.github.io repo (Hugo public 中靜態網頁的內容)

Step2 - 建立 Hugo 新專案

1
2
3
4
5
6
7
8
9
10
11
$ hugo new site blog-hugo -f yaml

# change directory
$ cd blog-hugo

# git initialized
$ git init
$ echo .DS_Store >> .gitignore

# add git remote repo
$ git remote add origin git@github.com:3033/blog-hugo.git

Step3 - 安裝 Themes

1
$ git submodule add https://github.com/laozhu/hugo-nuo themes/hugo-nuo

Step4 - 編輯專案設定檔

1
2
3
4
5
6
baseurl: 'http://mile3033.github.com/'
languageCode: 'zh-cn'
title: 'My New Hugo Site'

theme: 'hyde'
...

Step5 - 新增文章

1
$ hugo new posts/first-post.md -f yaml
1
2
3
4
5
6
---
date: 2015-07-19T17:32:25+08:00
title: first post
---

This is my first hugo post

Step6 - 預覽

此時就可以在 Local 執行, http://127.0.0.1:1313/hugo_blog/

1
2
3
4
# -w watch filesystem for changes and recreate as needed
# -D include content marked as draft
# Press Ctrl+C to stop
$ hugo server -w

Step7 - 移除 public

1
2
# it will created by `hugo` command after we executed `deploy.sh`
$ rm -rf public

Step8 - 新增 .github.io public as submodule

1
$ git submodule add git@github.com:mile3033/mile3033.github.io.git public

Step8 - 发布

1
2
3
4
5
6
7
8
9
10
11
12
13
14
15
16
17
18
19
20
21
22
23
24
25
#deploy.sh
#!/bin/bash

echo -e "\033[0;32mDeploying updates to GitHub...\033[0m"

# Build the project.
hugo # if using a theme, replace by `hugo -t <yourtheme>`

# Go To Public folder
cd public
# Add changes to git.
git add -A

# Commit changes.
msg="rebuilding site `date`"
if [ $# -eq 1 ]
then msg="$1"
fi
git commit -m "$msg"

# Push source and build repos.
git push origin master

# Come Back
cd ..

執行發佈shell後,內容會被推送到 blog-hugo,而 public 會被推送到 mile3033.github.io

1
$ deploy.sh 'your commit message'

待 Github Page 編譯發佈後,訪問 http://mile3033.github.io 就會看到結果!

參考資料